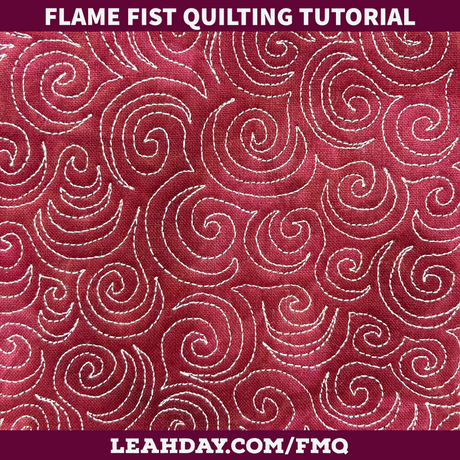
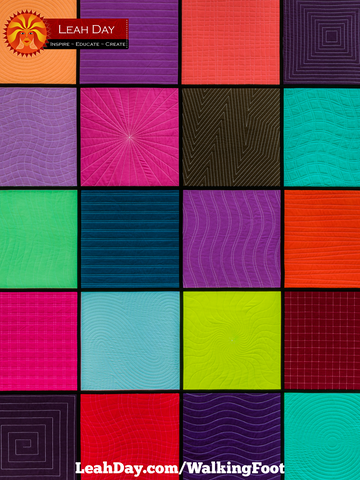
I have a super simple, super fun quilting tutorial for you today! Learn how to quilt Pinstripe Curves using walking foot quilting:
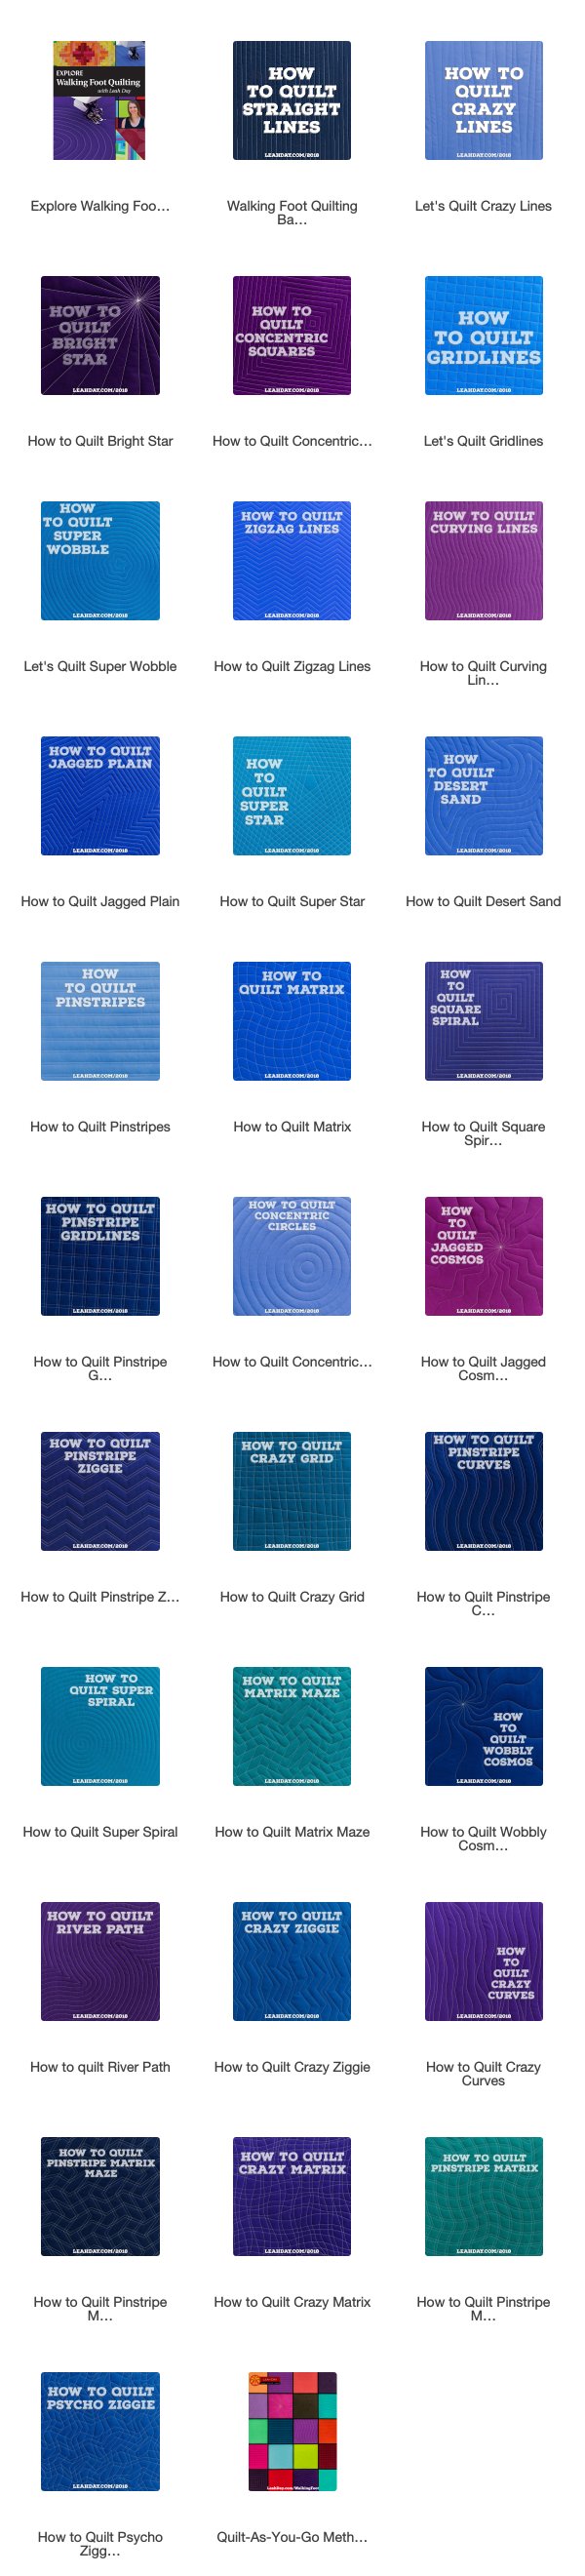
We have three different Pinstripe style designs that are created by spacing your lines closer together, then further apart. Check out the quilting tutorials for Pinstripes and Pinstripe Ziggie too!
Click Here to find the book Explore Walking Foot Quilting with Leah Day. Inside you'll find 30 fun walking foot quilting designs with tips on how to use them in real quilts. This book also includes the quilt pattern for Marvelous Mosaic, the quilt we're making together with these squares!
Check out the other tools and supplies shared in this video:
|
|
|
|
|


Tips for Quilting Pinstripe Curves with Walking Foot Quilting

Quilting Pinstripe Curves starts by stitching a single curving line, then you quilt a line very close to it. I like to space my Pinstripe style designs 1/4-inch apart for the closer spacing, then 1-inch apart for the wider spacing. This creates a noticeable difference in the line spacing without making the lines so wide apart you need more quilting.

Just a quick reminder about my machine settings:
For walking foot quilting I always set the stitch length to 1.5 mm and place a Queen Supreme Slider on my sewing table to the left of the feed dogs like so:

However, for this Marvelous Mosaic Quilt, I have Minky fabric on the back which likes to grip the machine and table. When using this fabric on the back, I increase the stitch length to 2.5 mm.
What's that weird thing on top of my machine? That's a small magnetic pincushion and a cheater needle. I keep those handy for tying off and burying loose thread tails as I quilt. Click Here to check them out.
Tips for Quilting Curves

Quilting any kind of curve with your walking foot is a bit tricky. If you're just getting started, try quilting a very shallow curve first. This is easier to follow with this larger foot and will require less stopping and starting.
As you get more experience with walking foot quilting, you can experiment with curvier lines. Just remember to stop to rotate your quilt when quilting the deepest curves to reduce the chance of creating distortion on the quilt top.
What is the Best Spacing?
Another tricky thing about any Pinstripe Design is knowing where to use it. Here I used Pinstripe Curves in the small triangles on this X block for the Hugs and Kisses quilt:

This wasn't the best design choice to use in those triangles because you can see, I only had space to quilt two sets of Pinstripes. It wasn't enough repetition to create a nice texture for that area and the design ended up looking kinda weird.
A better choice would have been to use Pinstripe Curves in the pink X and use Gridlines in the background green triangles.
Will I go rip this out and make it all over again? Nope! Part of learning how to quilt is also learning where designs work best. This block is a testament to learning something new and it's still the perfect amount of quilting to hold this quilt together so that's good enough for me!
Would you like to learn new machine quilting designs and make a big, beautiful quilt?
That's what we're making with Marvelous Mosaic!
We're quilting all 30 designs from the book Explore Walking Foot Quilting with Leah Day and we're going to connect together the best 20 to create the Marvelous Mosaic Quilt. Find the quilt pattern and detailed instructions in the book, available in the following formats:
|
|
|
|


Click Here to find all the walking foot quilting videos I've shared so far. We're making three quilts together from this book and you can join in the fun and follow along anytime!
Let's go quilt,
Leah Day
Find more walking foot quilting tutorials by clicking the links below: