 Finding space to sew, quilt, or craft within your house can be challenging. When Josh and I first got together, we shared a super tiny 500 square foot apartment with Josh's seven fish tanks and a hundred pound greyhound. I still managed to sew professionally, cranking out around sixty garments a week, but the lack of space was very frustrating.
When we went shopping for our first house, my craft space was one of the top priorities. I wanted a dedicated sewing and quilting space, with extra room for knitting, crochet, weaving, and any other crafts I picked up along the way. (Yes, I expanded a few years ago to include spinning, dyeing fabric, and painting too.)
 Crafting takes up a lot of space, both in storage of all the tools, fiber, fabric, and thread, and table space to pull it all out and play.
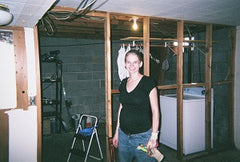
The house we ended up purchasing had plenty of space in my unfinished basement, but most of the rooms needed substantial improvements before I could move in and start quilting. Over the years I've added better lighting, finished walls, new flooring, additional storage, custom built doors, and electrical sockets.
I learned the basics of construction from high school shop class and learned how to lay tile, basic wiring, and change out light fixtures from various projects around the house.
I prefer to do most of this work myself because I can keep the cost down and project moving steadily forward. I've had my fair share of experience with lazy, fraudulent contractors who show up when they like and never finish the job as well as I could have.
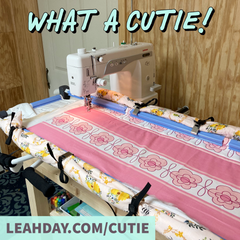
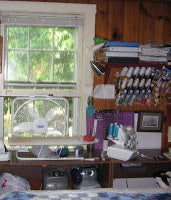
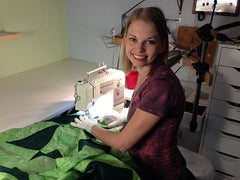 Over the years my craft rooms have transformed and now have dedicated spaces to cut fabric, piece quilts, quilt quilts of all sizes, store fabric and loads of tools. It might not look very pretty, but this room is set up to be very efficient for free motion quilting and filming videos for YouTube.
But that is where I began to have problems. My multitasking craft rooms are trying to do too much. I'm piecing and quilting loads of quilts, sewing garments occasionally for fun, and dyeing fabric whenever the whim hits, but the thing I need to do most often is almost impossible to do!
I love my sewing room, but the fact is, I just can't shoot videos in the house any more.
Every time I turn my cameras on, someone walks downstairs, or jumps overhead, or yells to someone else across the room. My basement craft room seems perfectly positioned to pick up the most noise in the house and the distraction was really starting to affect my videos.
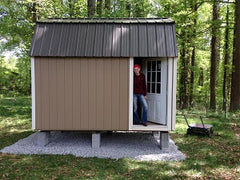 So I decided to move out! In March 2015 I picked out a small prebuilt shed created by Old Hickory Buildings and had it delivered to a relatively flat spot in my wooded back yard. This series of posts will detail every step of the process of converting this prebuilt shed into a fully finished, beautiful craft space.
No, not everyone needs a space to film YouTube videos, but I bet many crafty people would love to know how easy and inexpensive it can be to create your own space from scratch. It is possible to have the craft room of your dreams, even if you have to be the one swinging the hammer!
Click the articles below to learn more about how I converted a prebuilt shed into my craft room, the Crafty Cottage:
 Picking the Shed |
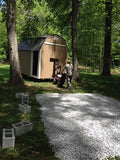 Shed Delivery |
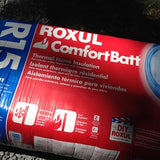 Insulating the Shed Floor |
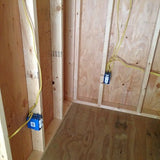 Wiring & Paneling |
|
Electricity! |
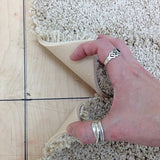 Paint, Lighting, and Carpet |
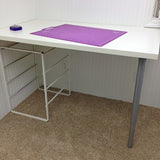 Organizing the Craft Room |
 Budget |
Crafty Cottage Update! One Year later
The Crafty Cottage was featured on Shed's Unlimited 11 Jaw Dropping Sheds Turned Sewing Rooms! I'm definitely not the only quilter / sewist with this idea!

