One of my favorite quilters, Margaret Leuwen, is running a Quilt Along this year and guiding quilters through making a very pretty quilt called Sarah's Star. In this quilting tutorial, I'm planning a fun quilting design for Sarah's Star and guiding you through the process of picking designs and planning the quilting process:
Click Here to check out the Sarah's Star Quilt Along with Margaret Leuwen!
Picking Your Quilting Design Isn't Hard
My goal with sharing this quilting tutorial is to help demystify the quilting design process. It really is this easy. Just print out a picture of your quilt on paper, pick up a pencil and play!
Start by making a list of the quilting designs you really know well and like a lot. Are you a fan of Stippling? Have you ever tried Pebbling?
Next, make a list of 1-2 designs you're wanting to learn. Do you wish you knew how to quilt feathers? Are you wanting to finally master Paisley or McTavishing?
I think the best quilts are the ones that help you build new skills and give you a bit of challenge, but also are relatively quick to quilt. It's no fun to get stuck in a big project with an overwhelming quilting design that's too difficult to finish. So it's good to mix a bit of the quilting designs you know how to quilt with a quilting design you're wanting to learn.
Decide HOW to Quilt It
 There are many ways you can secure the layers of a quilt together. When you stitch a design over the whole surface of the quilt and ignore the piecing completely, that's called All-Over Quilting.
All-Over Quilting is very fast because you don't have to pay attention to anything in the quilt. Just pick your design and quilt it over the surface. Easy peasy, lemon squeezy!
When you pick and choose and place designs in different spots, that's called Section Quilting or Custom Quilting.
This takes more time because of the picky / chosey nature (like giving a kid a choice between three kinds of candy) and because using more designs will probably require stitching in the ditch and that is definitely more time consuming than just ignoring the seams of the quilt as we do with All-Over Quilting.
So if you're wanting to spend a few days on your quilt, pick All-Over Quilting. If you want to spend a few weeks or months on your quilt, do Custom Quilting.
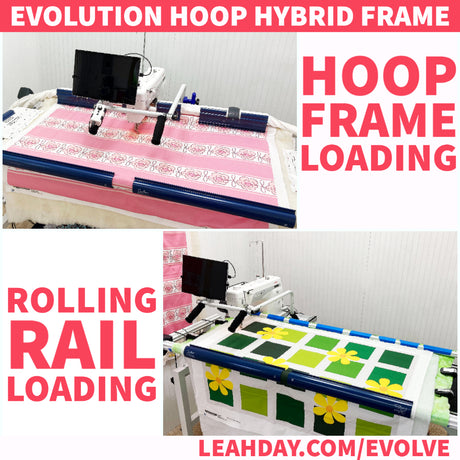
Note: Keep in mind that there is also a speed difference for home machine quilting and longarm quilting. Quilting on a home machine is significantly slower than quilting on a longarm. I can custom quilt a large block on my longarm in about 1/4 the amount of time it takes to quilt on the home machine. You lose a lot of time for shifting and manipulating the quilt under the small arm of the machine.
There is no WRONG Choice
Many quilters get stuck on the quilting process simply out of fear of picking the wrong design or quilting it badly. All the "what ifs" start to build up and it's just easier to fold up that quilt top and add it to the stack with all the others and go piece something else.
But here's the thing - a quilt top is NOT a finished quilt.
It cannot be used and loved and cuddled under. Your grandkids can't build a fort with it in the dining room and see the sun shining through the beautiful fabrics. A quilt top just isn't the same as a finished quilt.
The only way to fix it is to finish it. Don't worry about the design. Pick something and go with it. Don't worry about it being perfect! Just quilt to the best of your ability and keep moving. You will not be able to see those mistakes in the finished quilt.
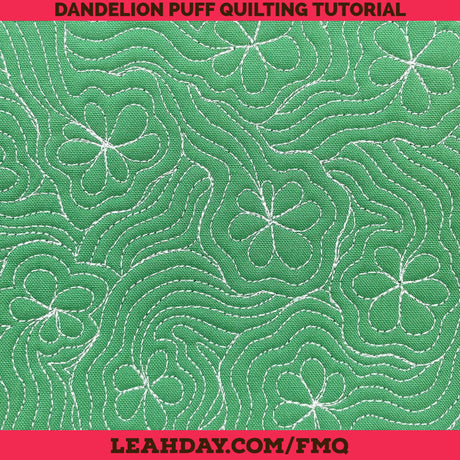
Would you like to see the video on how I quilted the center of Sarah's Star? Click Here to find that collaboration post.

I hope this quilting tutorial has helped! Let me know if you have any questions in the comments below.
Let's go quilt,
Leah Day


4 comments
Excellent tutorials!
Excellent tutorials!
Dawn – Great question! This is the original design of the quilt which was probably designed in EQ7 or EQ8. You can also piece your quilt, hang it on a wall nice and straight, then take a picture with the edges of the quilt as straight to the edges of the shot as you can manage. Then print it out and you’ll be ready to design and play!
How in the world did you print your quilt on paper like that?