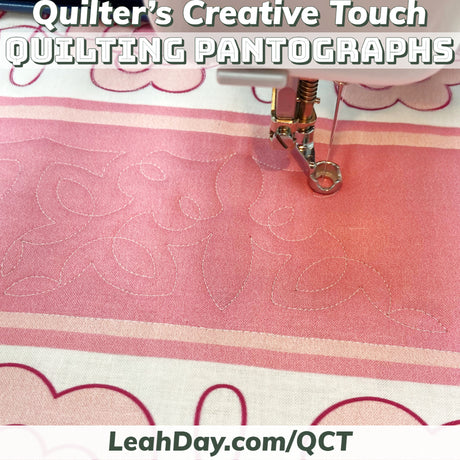
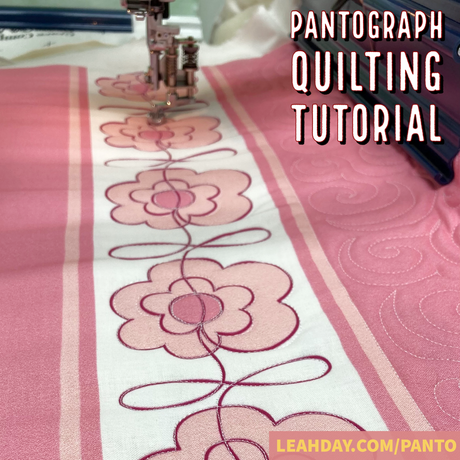
We're finishing our pantograph quilted quilt with a partial last row! This is the final step - quilting over the bottom edge of the quilt to secure the edge and keep the design continuous.
Check out the tools and supplies I used in this quilting tutorial:
|
|
|
|


Partial Last Rows are SO Easy if...
In the last tutorial we learned how to quilt across our pantograph and advance the quilt to keep the design evenly spaced over our quilt. You can quilt the bulk of your quilt by stitching across the row, then advancing the quilt to reach the next row.
Quilting the final row is surprisingly easy... IF you took the time at the beginning of the process to baste your quilt during loading.
Having the quilt stitch-basted means that the sides and bottom edges are all secure. So quilting your partial last row is as simple as finding the edge of the quilt, then only stitching as much as you need.
Because the quilt is secure, you don't have to worry about stuff like this happening:

I had my quilt basted, but picked out some stitching to take a pretty photo and wouldn't you know it - my foot caught on that one spot and pulled the edge of the quilt over.
When all the edges of the quilt are locked down with basting stitches, you don't have to worry about your foot catching on the quilt, pulling the quilt over, stitching your quilt top to itself, etc.
If you didn't baste during loading, stop and take the time to do it now. Stitch along the sides and bottom edge of the quilt to lock it in place.
How to Quilt a Partial Last Row
You've already gotten the hang of advancing your design. If needed, advance the quilt through the frame, following our Mix n' Match rule - stop on the red line, roll back to the blue line.
With the quilt locked and side clamps reset, now stitch along the side of the quilt in the batting area until your needle is off the bottom edge of the quilt.
Now place a long cutting ruler over your pantograph and align the edge with your foot. Shift the ruler until a straight line on the ruler is lined up with a straight line on the pantograph.
This ruler will tell you where to stop quilting. When you hit it, you know you're off the edge of the quilt, so just roll the quilt to the left or right along the ruler to stitch all the design elements.

Yes, you could quilt the entire pantograph completely - stitching over the edge of the quilt and batting.
But this is extra stitching you don't need to do. Don't waste your time or bobbin thread! Watch the video to see how I quilt following the design, then hit the ruler and stitch along it to hit the next design line.
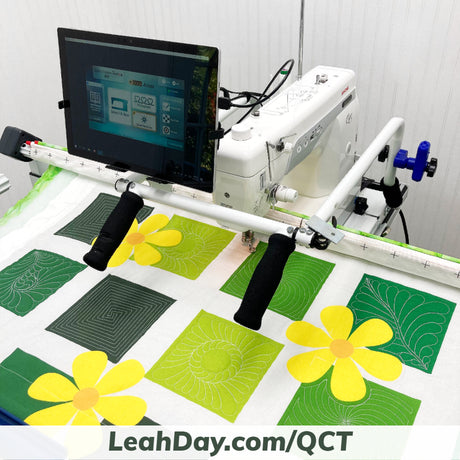
Join in the fun quilting with pantographs!
We've stitched a beautiful pantograph from beginning to end on our quilt. I hope you will dive in and give this style of quilting a try!

Join in the fun anytime begin pantograph quilting with our Mix n' Match Pantograph Designs:
 |
 |
 |
 |
 |
 |
 |