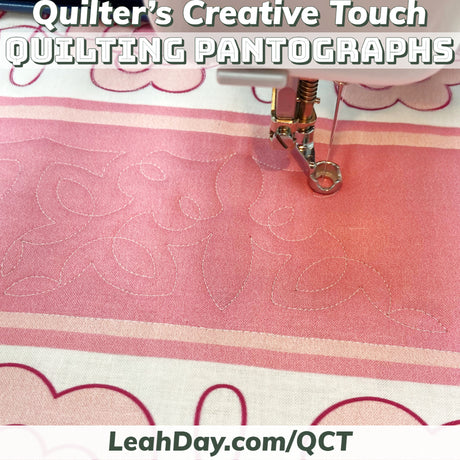
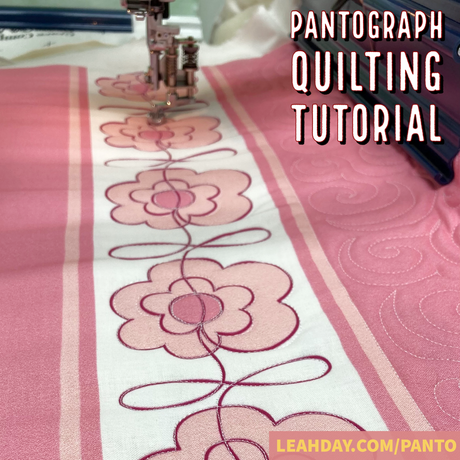
I'm kicking off a new tutorial series - Quilting Pantographs - and we're getting started with the absolute basics - how to load your frame for pantograph quilting! Learn how to load a rolling rail frame for this style of quilting in this video quilting tutorial:
Check out the tools and supplies I used in this quilting tutorial:
|
|
|
|


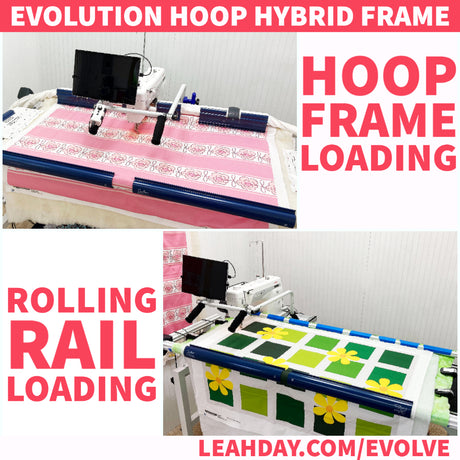
Loading a Hoop Frame for Pantograph Quilting
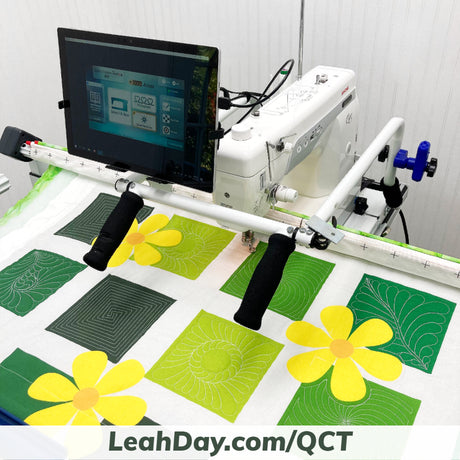
This quilting tutorial is specific to loading a Rolling Rail style frame like the Continuum, Continuum II, or Q-Zone Queen.
If you have a Hoop Frame, follow the steps in this tutorial for loading your frame:
You'll need to load so you can quilt over the top edge of the quilt for a partial first row, this is tricky to line up straight, so take your time and make sure to baste stitch the area you can quilt as shown in the video above.
Step 1 - Load Your Backing Fabric
The first three steps of loading your frame will be identical for any style of quilting. I often load this way for extra stability for a very special quilt, and especially when quilting with Quilter's Creative Touch.

I have an extra Idler Rail attached to my frame, plus I use Red Snappers for locking the backing fabric to the leader cloth. Because I'm using these extra accessories, I clamp my backing fabric to the leader cloth a little differently.
Top edge of the backing fabric - clamp to medium length leader cloth on the top, back rail.
Bottom edge of backing fabric - clamp to longest length of leader cloth on the bottom, front rail.
The backing fabric flows over the top, front rail, and I've removed all leader cloth from this rail. This way I can still clamp with Quilt Clips if desired.
Step 2 - Spread out and baste stitch the batting to the backing fabric

Smooth out the batting and either use channel locks or push the longarm against the back rail of the frame and stitch a straight line of basting stitches across.
I use the side clamps now, which is a little different from my first loading tutorial here. I find the side clamps really helpful for keeping the quilt straight and square, and stopping the edges from pulling inward as I stitch across.
Step 3 - Baste stitch the quilt top to the backing and batting
If I've already engaged the channel locks to baste the backing in place, it's super easy to stitch back across with a second line of basting stitches.

I place the quilt so it extends 1/8 inch past the batting basting line, then pull the machine across.
If I'm quilting from the front of the frame, and the quilt isn't particularly special, this is all I do for loading the quilt.
But if I'm quilting with pantographs, Quilter's Creative Touch (QCT) or the quilt is extra special or has obvious distortion, I do one more step...
Step 4 - Machine baste the quilt from top to bottom
For a small quilt (anything up to 55 inches wide), I will baste stitch quilt the side, across the front (as close to the front rail as possible), and up the opposite side. Using the vertical and horizontal channel locks when needed helps me quilt these lines nice and straight and ensure the quilt is locked to the frame straight and square.

For wider quilts over 55 inches, I baste stitch from the center I stitch a line from the middle of the quilt, down to the front rail, then stitch to the left (keeping the machine as close to me as it can roll), up the left edge of the quilt, then break thread. Then start from the center again, stitch to the right, then up the right edge of the quilt.
This extra stitch basting locks the quilt together - it forms the quilt sandwich on the frame, and it makes advancing the quilt forward and back so much easier.
But most important, it secures the edges of the quilt.
When pantograph quilting, our eyes are down on the pantograph design. As you pull the longarm across, it's very easy for your quilt top to shift, especially on the edges.
Unfortunately you probably won't notice the pleats or flipped over quilt top until you reach the end of your pantograph!

This could mean a lot of ripped stitches to fix the mistake. As far as I'm concerned, it saves time to baste stitch the entire quilt this way from the beginning. Every row of your pantograph will be faster to quilt if you know you can focus on the design and not worry that issues are happening to the quilt.
Join in the fun quilting with pantographs!
Now that our quilt is loaded, it's time to begin quilting with pantographs. Next week we will put a Mix n' Match Pantograph design together and begin quilting with a partial first row!
Join in the fun anytime begin pantograph quilting with our Mix n' Match Pantograph Designs:
 |
 |
 |
 |
 |
 |
 |


1 comment
Thank You Leah, I recently received my Qnique 15 Pro and was just thinking about the basting while I was practicing and getting to know my machine. Thank You for all your video’s their a Life Saver. Linda Evans