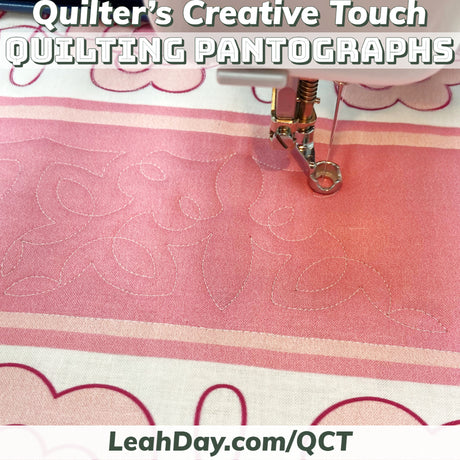
For the last video in our Start Quilting Series, let's give ruler quilting a try as we stitch in the ditch on a variety of machines and quilts!
Check out the pattern shown in the tutorial:

Stitching in the Ditch on the FMQ Practice Panel
Our practice panel has many rows of on-point quilt blocks and triangles printed directly onto the fabric. A great way to practice stitching in the ditch is to tackle these printed rows first and stitch straight lines between the printed shapes.

Technically this isn't stitching in the ditch because there isn't a ditch on a printed panel!
But quilting in a straight line can take practice when you use rulers for the first time. I like to use the side slot on the Ditcher Ruler because it offers a long space and I can easily line up etched lines on the ruler with lines on the quilt.
Ruler Quilting Basics
The biggest key to ruler quilting is to use a ruler foot!
I know this seems obvious, but I've heard from many quilters struggling with ruler quilting using a regular darning foot. This is dangerous because the foot can easily hop on top of the ruler or let the ruler slip over the edge of the foot.
A ruler foot is specially designed with a high edge to support the ruler, plus the base forms a perfect 1/2-inch circle.

With your needle in the center position, you can easily quilt lines 1/4 inch, 1/2, 3/4, or 1 inch apart using rulers as a guide.
Stitching in a Real Ditch on a Home Machine with Rulers
I switched to a pretty Drunkard's Path baby quilt and did some real stitching in the ditch - as in the actual seamline between pieced fabrics.

While ruler quilting is a form of free motion quilting and you should be able to quilt in all directions, I find it easiest to rotate the quilt so the ditch is running perpendicular to the machine.
When quilting on a stationary home machine, I have to stop and shift the quilt every 4 inches or so anyway, so why not rotate the quilt a little bit at the same time?
This ensures I can create a smooth movement as I push the quilt and ruler through the machine at the same time. If I can't move smoothly, I will not make pretty stitches.
Remember - when quilting on a stationary home machine, I don't use a stitch regulator. This means I'm balancing the speed of my hands moving, the speed the machine is stitching, AND forming a pretty design all at the same time.
When ruler quilting I'm focused on keeping the ruler pressed against the ruler foot and in the correct position on the quilt.
All of this together can be overwhelming! So rotate the quilt so at least your hands feel comfortable as you push the quilt and the ruler through your machine!
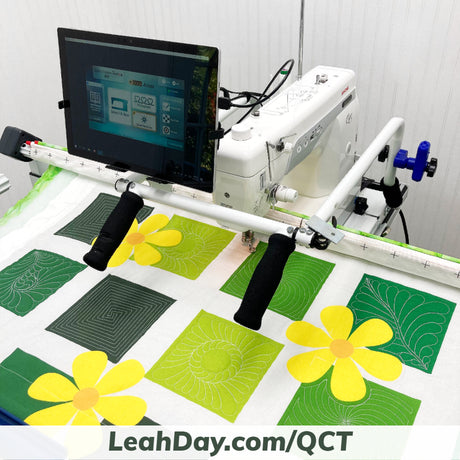
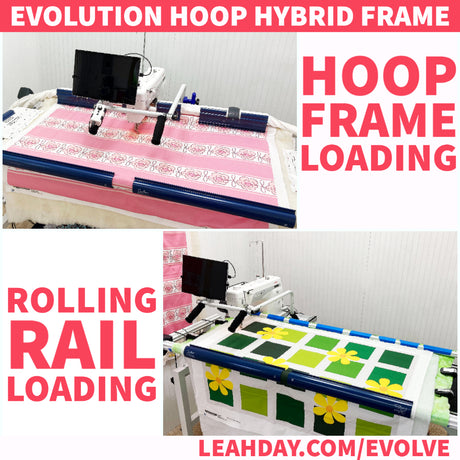
Quilting in the Ditch on a Longarm
Ruler quilting originated on longarms on frames and it's no wonder - this definitely gives us more control over our machine and the ability to quilt precisely in the ditch if desired.
But this is actually a little controversial - stitching right in the ditch with seams pressed open.
I did this for years and had no issues with it. I was also quilting on a stationary home machine during that time.
Recently I've changed my method when I noticed my big size 18 longarm needle punching a hole through my seams. The size of this needle, the strength of the longarm, and the seams pressed open allowed the stitching line to split as the needle landed.
After seeing this with my Christmas Tree quilt, I began pressing seams to one side. I also began echo ditching a lot more!

Echo ditching is stitching 1/4-inch away from the ditch. It looks just as nice, but is at least 70% easier and faster. It's more forgiving because you're not trying to hit the seam exactly AND you can quilt faster because you don't have to carefully stay in the seam.
Using the Ditcher Ruler to echo ditch is wonderfully easy - I line up the edge of the ruler with the seam and keep the ruler foot lined up with the side of the ruler. With the needle in the center position, you will stitch exactly 1/4-inch away from the ditch.

Continue Quilting as Desired...
So that is it for our Start Quilting Series! I hope you've enjoyed quilting along with me through many rows of our free motion quilting practice panel.
You can join in the fun any time and with any machine or quilting setup! Pick up a Free Motion Quilting Starter Kit here.
Check out more videos from this Start Quilting Series using the Free Motion Quilting Starter Kit:
#1 - Unboxing the Free Motion Quilting Starter Kit
#3 - FMQ Warm Up and Beginner Design
#4 - Beginner Skill Building Design Loops and Shells
#5 - How to Sew a Frame Weight
#6 - Testing the Frame Weight with Loops
#7 - Start Quilting Circles - Rocks and Pebbles
#8 - How to Quilt Loopy Hearts
#9 - Beginner Quilting Spiral Chain
#10 - How to Stitch in the Ditch with Rulers