In this Start Quilting Tutorial, you'll learn how to load your Grace Company Hoop Frame using the backing, batting, and free motion practice panel that comes in the Free Motion Starter Kit!
Check out the tools and materials I used in this video:
Pinning Leader Cloth on the Wall
Yep, I'm pinning my quilt sandwich standing up! I found this method works the best for me, is the easiest on my body and I tend to pin faster too.

To set this up, I'm using these high powered magnets which are screwed into the wall 2 feet apart.
The Hoop Frame Leader Cloth is then held against the magnet and I pop a galvanized L bracket on top.

This holds the leader cloth securely, but temporarily, and at the right height for me to pin the layers and smooth everything out evenly.
If you don't like this idea, you're welcome to layer and pin on the floor or on a table. But just in case you're wondering - no - there isn't a method to reduce or eliminate this pinning process when loading a Hoop Frame.
Would you like a frame that's faster to load and advance, which means more time for quilting? Check out the Continuum II Frame here!
Spacing the Layers of Your Quilt on the Sandwich
I pin the backing fabric to the dotted line on the leader cloth.
Then I pin the batting so the edge aligns with the edge of the leader cloth. This sets up two parallel rows of pins like this:

The quilt top is layered on next, but I space this down 3-5 inches and pin my quilt top like this:

Make sure to use a ruler to keep the quilt top edge straight and pinned parallel to the leader cloth edge.
This additional space means the top two rows of pins will be sealed up either in the quilt roll, or under the clamps the first time you load your Hoop Frame.
This little bit of space reduces the chance you'll stab yourself with the pins, and helps the quilt feel more secure when clamping the first time.
Loading the Hoop Frame with the Quilt Sandwich
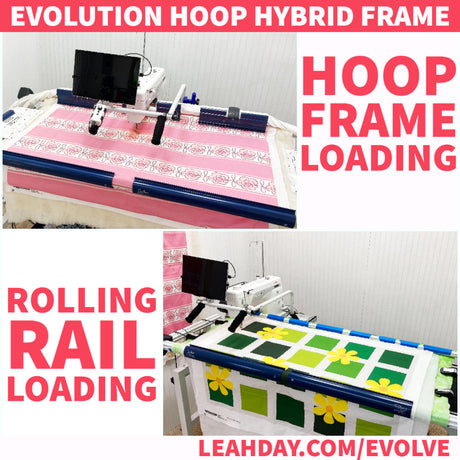
To load the frame, set the quilt over the rails so the top is aligned with the back rail. Begin rolling the leader cloth from the top to create a roll that can be secured with the clamps.

I like to clamp from the middle and aim to keep the quilt as straight as possible across the frame.
Once the back is clamped, I secure the front and tension only a little. You want the quilt top bouncy tight - not stiff. Too much tension can cause skipped stitches and needle breaks!
After the back and front rails are clamped, I then attach the side clamps - either using the small piece of leader cloth, or clamping directly over the quilt if it's big enough.

Whew! Now it's time for quilting! I hope you enjoyed learning how to load your Hoop Frame with me today.
If you're wanting to jump into quilting with both feet, please pick up a Free Motion Quilting Starter Kit and follow along with this Start Quilting series.
Check out more videos from this Start Quilting Series using the Free Motion Quilting Starter Kit:
#1 - Unboxing the Free Motion Quilting Starter Kit
#3 - FMQ Warm Up and Beginner Design
#4 - Beginner Skill Building Design Loops and Shells
#5 - How to Sew a Frame Weight
#6 - Testing the Frame Weight with Loops
#7 - Start Quilting Circles - Rocks and Pebbles
#8 - How to Quilt Loopy Hearts
#9 - Beginner Quilting Spiral Chain
#10 - How to Stitch in the Ditch with Rulers

4 comments
Would a sweet sixteen be able to go on the hoop frame.
I just received the sewtites magnum magnets for my hoop Frame. Would you please do a video on how to secure the magnets to the hoop frame. I use a large table to prepare my sandwich. Thank You, have a Great Weekend. Linda L Evans
Great question Simona – Yes, this is the same purpose as basting, but keep in mind this method works only for frame quilting because the frame puts tension on the three layers of the quilt. I find just having a place to get the three layers smoothed out is all I need for my Hoop Frames, and the wall in the Crafty Cottage has worked great so far!
Since we assemble the quilt sandwich on the wall, is this the same as basting? Or are there more steps? I like the idea to avoid using the floor and I don’t have a table big enough for a twin size quilt