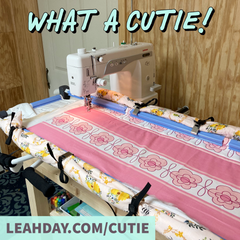
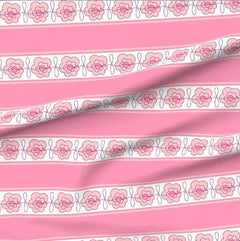
I love making quilts that showcase special fabrics that are just too pretty to cut small. This pattern is specially designed to showcase your favorite prints with soft curves over the corners to make it super special. Learn how to piece this quilt in this new video:

Extra Tips and Tricks
The main goal of the Soft Edges Quilt is to practice curved seam piecing on a quilt that's nearly impossible to mess up. If you accidentally turn a corner badly, simply trim the block a bit smaller and try again!
I used glue basting to help hold the fabrics together so the piecing process on the machine would be fast and easy. I pinned the background curve to the corner curve of the block on the center marks:

Then I applied glue from the center mark to the outer mark. I only applied the glue through half of the curve because it dries so quickly:

Then I folded the background fabric back up and matched the edge of the fabric piece with the outer mark on the block fabric. Yes, I know you could probably get away with not pinning this, but I like to pin!

Then I picked up the fabrics and squished and mushed the two curves together so the edges matched. LOL! You could also call this the Squoosh and Moosh quilt!

The main point of the glue is to hold them together so you don't need 50 pins easing the fabrics together. The glue holds lightly so if you don't squish the fabrics together nicely, you can always pull them apart and try again.
Once the corners are glued, slide the blocks over to the machine and piece the curve with a 1/4 inch seam allowance. I pulled up my bobbin thread to start this seam so the thread tails wouldn't make a mess on the back of my quilt.

After the corners are all pieced, press the curved seam outwards and trim the blocks down 1/8 inch per side. This is a bit of a weird step, but don't fret. You just want to trim off enough that when you piece more fabric around your block it completely conceals the outer edges of your black curved corner squares. Ta da!

You'll really see the effect when you get all the blocks surrounded with background fabric. Who would have thought simple curved corners were enough to make a cute quilt?


