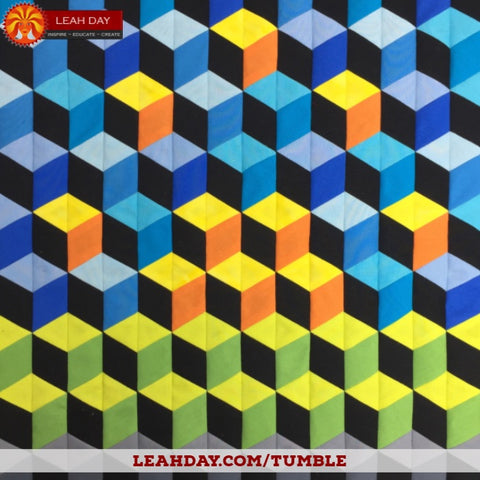
I've wanted to create a Tumbling Blocks quilt for years, but all those little Y-seams scared me off. This month I received an awesome ruler in Quilty Box and finally tackled this pattern and found a way to avoid those Y-seams completely! Learn how to piece a Tumbling Blocks quilt and create a unique 3-D quilt pattern in this quilting tutorial:
Tumbling Blocks Sunrise Quilt
Finished Size: 16 x 16 inches
Click Here to download this free pattern
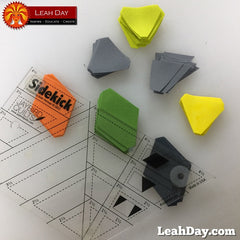 For this quilt pattern, the Sidekick Ruler is essential for cutting out the diamonds, triangles, and half triangle shapes. I've tried a lot of rulers and this is by far one of the best I've ever found.
This ruler does have the tendency to slip as you cut and you need to be able to flip it to cut from both sides. I used True Grips to make both sides of the ruler super grippy so I could cut accurate diamonds, triangles, and half triangle shapes. Click Here to find True Grips.
Piecing the Tumbling Blocks Quilt
The traditional way to piece a Tumbling Blocks quilt is with all diamond shapes and Y-seams to create a hexagon shape. And then you have to piece those hexagons together with more Y-seams! Argh! No Y-seams!
Don't get me wrong, I love a quilting challenge, but I find Y-seams much easier to piece by hand. The last time I checked, I still had three lifetimes worth of hand stitching projects already and I don't need another one.
So I knew going into this quilt that I wanted to make a Tumbling Blocks quilt, but without the Y-seams. Isn't there a faster way to manage this design?
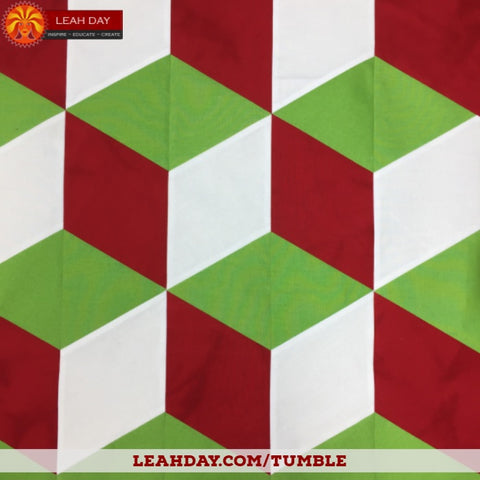
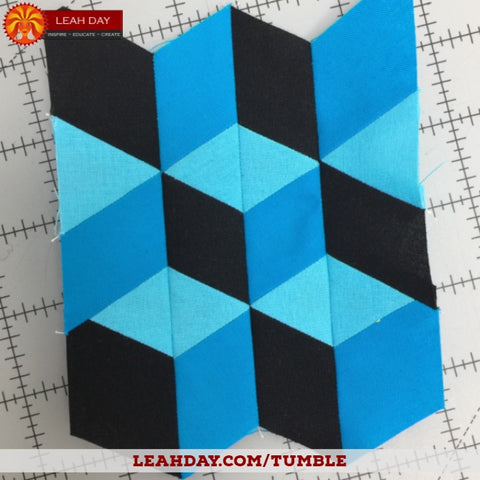
Of course there is! Geometry is a marveous friend and 60-degree diamonds can be cut into two 60 degree equilateral triangles. When you split the light diamonds into two triangles, all of a sudden, you can make a traditional Tumbling Blocks quilt with chain piecing completely by machine and with no Y-seams.
Sure, you will have a little seamline down the middle of all your light colored diamonds. In my opinion that's a small price to pay and will be greatly hidden by your quilting design.
Tumbling Through the Triangles
By splitting the light diamonds in half, you'll end up with a lot more pieces to this quilt pattern. A LOT!
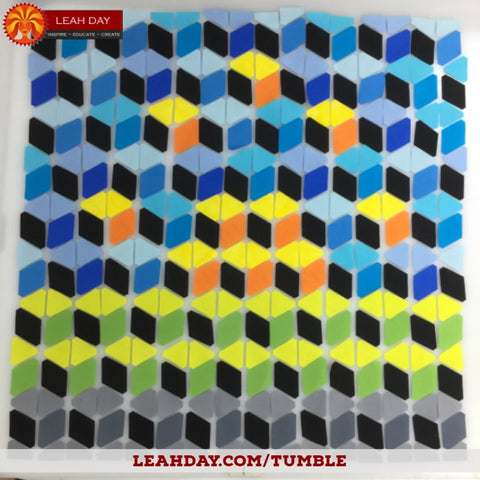
Once I had this laid out on my table, I knew it had to go together quickly. The chance of someone throwing something on the table, or a strong wind blowing through the room, or a cat deciding this was a great place for a nap was too great and these little pieces far too many to consider rearranging it somewhere else.
So I started piecing just one row at a time. It took forever and I kept having to get up to grab the next piece from the layout. Too slow!
Then I tried pinning all the pieces together in one long chain. This would probably work great if the pieces were larger, not the size of my big thumb. No matter whether I used Mini Wonder Clips or pins, the pieces felt awkward and it was slow to stitch just one tiny seam at a time.
So I went back to the quilt arrangement and decided to take a chance. What if I stitched through every single piece, one row at a time, and chained them together into one long chain? That would keep the pieces in order, it would also be a lot faster and I'd add one piece to each row before having to return to the layout on the table.
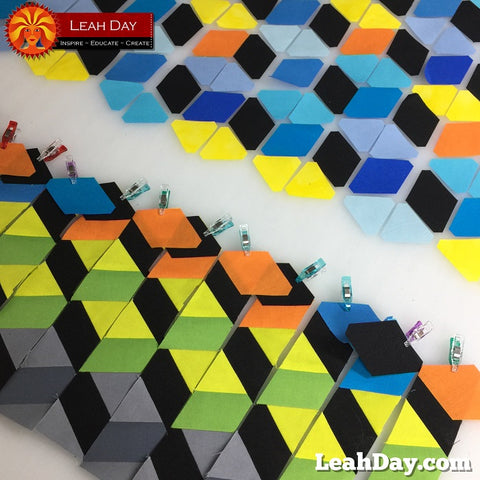
That worked great! It's a bit tricky to keep the chain together and sometimes you have to cut the thread just to get the pieces in the right angle to piece the diamonds together. Eventually I found leaving the thread connected further away from the ends did the trick. I could pick up the connected chain, arrange it on the table with the rest of the quilt pieces, clip them all in place, then return to the machine to chain piece them on.
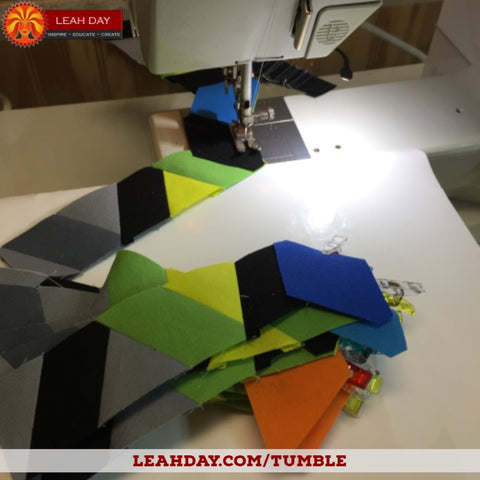
Then the chain stayed nicely connected as I pressed the seam allowances open and returned to the quilt layout once again.
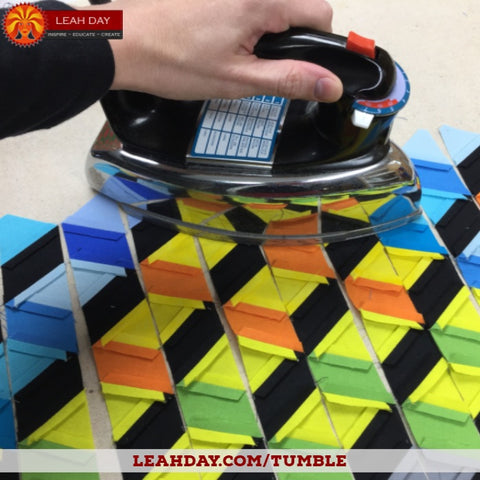
It was a lot of pieces to make my Tumbling Blocks Sunrise quilt, and because they were so tiny it made a cute little mini quilt just 16 inches square. It's also a good idea to test the technique and your fabric colors by making a small sample as I demonstrated in the video:
If you had more fabric, you can of course make this quilt bigger. Simply cut bigger strips, then cut the larger shapes using the Sidekick Ruler.
I hope you enjoyed quilting along with me and making this fun Tumbling Blocks Sunrise quilt.
Let's go quilt,
Leah Day

