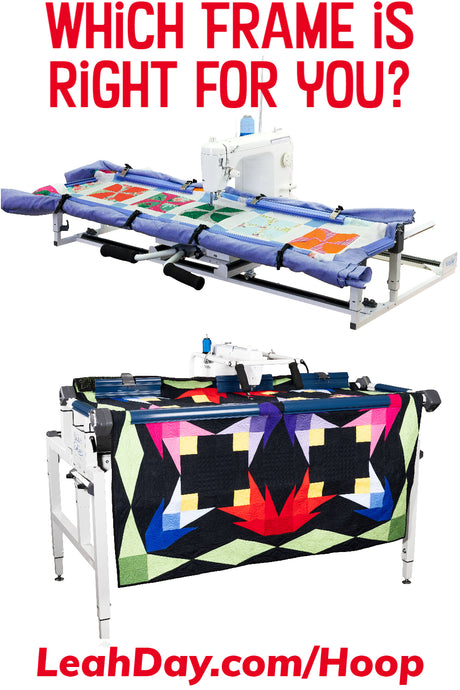
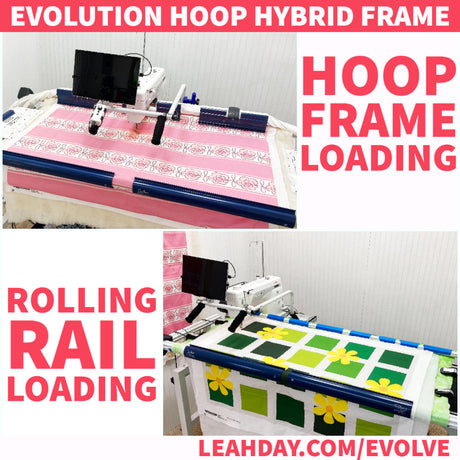
One of the main reasons I began quilting on a Janome 1600 this summer is so I could use this machine on my Q-Zone Hoop Frame. The high speed, straight stitch, and open space in the arm of the machine make it perfectly suited for frame quilting. See what I mean in this new quilting tutorial!
I shared a lot of machine setup tips at the beginning of this video. If you want to jump straight to the quilting, fast forward to time 14:10.
Quick links to the quilting equipment shown in this quilting video:
Moving a Home Machine to a Hoop Frame
To set up my Janome 1600 on the Hoop Frame, I first removed the back bar on the frame using the six thumb screws attached on the sides. Then I placed the machine gently on the top carriage and centered it.
I've received a few questions from quilters about where this should go exactly and I think centering the machine right in the middle of the plate works best. Once it's placed, lock it down with the four plastic clamps included with the frame.
After you get the machine placed, take a look at the brackets on the sides of the frame. Press the clamps on the sides and pull up to raise the height of the front and back bar.

If you click the clamps and the bars don't move, you just need to unscrew the small inset screws to release them.
I advise lifting the sides so the back rail will have more than enough room to slot through your machine without rubbing against your machine bed. If the back bar brackets are too low, you will not be able to attach the back bar easily.
Make a Practice Sandwich
The best way to begin quilting on any machine or frame is to start with a practice sandwich! This will help you get the hang of moving the machine and give you a place to put your ugly stitches (there will be a few).
This will also help you sort out any tension issues you may run into at the beginning. If you followed the steps in my first Janome 1600 video and set your bobbin tension, your machine should already be quilting with great tension.
But you may need to adjust your top tension up or down because this can change as you use the higher speeds of your machine.
Here's a quick tension adjustment guide:
Signs of the top thread on the back - tighten your top tension by 1/2 a turn
Signs of the bobbin thread on the top - loosen your top tension by 1/2 a turn
Balancing Speed and Movement While Quilting on a Hoop Frame
When quilting on any frame, it seems our natural inclination is to move the machine on the carriage. Maybe that is something to do with the handles sticking out, or the wheels, who knows!
Remember in order to create stitches, your needle must be moving.
If you've set your needle to land in the down position, you must power the machine and make the needle move BEFORE moving the machine. So give the machine some gas, then begin moving the carriage smoothly and evenly.
It will take some practice - possibly two 1-yard practice sandwiches before you get the hang of balancing the speed of the machine moving (rolling on the carriage) with the speed you are creating by pressing your foot on the foot pedal.
Here's a quick stitch size guide:
Big stitches - Either slow down the machine moving or speed up the stitching
Tiny stitches - Either speed up the machine moving or slow down the stitching
Irregular stitches - Practice!
Don't forget to check out the awesome quilting equipment used in this tutorial:


