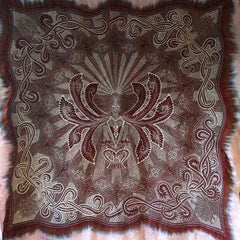
 Blocking your quilt is the process of manipulating the quilt back into a square, flat shape after quilting. Many times during the quilting process, a quilt will become wrinkled and slightly wonky, or out of square. The process of blocking will return the quilt to a perfectly square shape and ensure the quilt rests on a bed or hangs on a wall beautifully.
Do all quilts need blocking?
Yes, all quilts can benefit from blocking, but it's not an absolute requirement to finish a quilt. Many of my bed quilts and throws are not blocked simply because they're going to be used and washed often and don't really need to be straight or hang square.
I mostly use blocking for wall hangings, wholecloth quilts, and show quilts. These are quilts that need to hang straight and square and will not be washed often, so one block will likely ensure the quilt hangs straight and true forever.
Directions for Blocking a Quilt
In order to block your quilt, you will need to collect the following materials:
2 pieces of 1-inch polystyrene insulation foam from your local hardware store
Long, straight pins with glass heads or t-pins
Tape Measure
Note: If you have not prewashed your fabric, blocking your quilt may cause the colors to bleed. Proceed with caution!
 1. Using a long tape measure, record the length and width of your quilt through the middle so you know exactly how big your quilt is originally. Don't trust your brain to remember this measurement! Please write it down.
2. Fill up your bathtub with lukewarm water. Lukewarm water is best to dissolve any water soluble thread you may have used for trapunto and to wash out any marks from a water soluble marking pencil.
3. Lay your quilt into the water and agitate it very gently to encourage the thread to dissolve. You might even want to let your quilt sit and soak for 10-30 minutes.
4. While your quilt is soaking, set up your blocking surface. Lay down both pieces of insulation foam on the floor, edge to edge.
5. Next, let the water out of your tub. Don't try to pick up a massive, wet quilt out of a filled tub. Let all the water out, then squish the quilt with your hands to release more water. Bunch up the quilt into a tube, then place this into your washer and run the spin cycle twice to remove even more water.
6. Take your quilt to the blocking board and lay it out. Using a ruler, and starting in the middle of your quilt, line up one side of the quilt with the straight edge of the insulation foam so that the border is completely straight. Pin this side in place using strong pins placed every 3-5 inches.
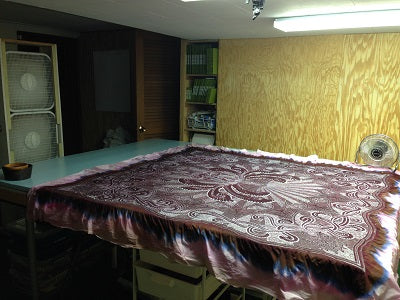
7. Now shift to the opposite side that you've pinned and using your recorded measurements and a tape measure, stretch your quilt to original size and pin it in place starting in the middle and working your way to the corners. Repeat this step with the lengthwise side working from the middle out to the sides.
8. When you get to the corners, use a large square ruler to square up the corners and make sure your border is exactly straight. Hold the whole quilt down with pins and leave it overnight to dry with fans placed on both corners.
Once your quilt is totally dry, remove all the pins. Slide your cutting mat under the quilt and cut the sides and corners square with a long ruler and rotary cutter.
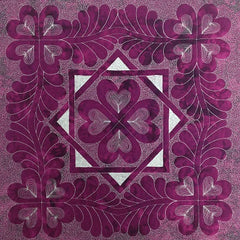 Your quilt should now feel very flat and stable. Be careful while binding your quilt not to stretch the edges. In particularly trick circumstances, you may want to repeat the blocking process after the quilt is bound to eliminate any wave or distortion caused by binding.
Would you like to practice blocking on a small quilt? Learn how to make this beautiful wholecloth quilt and how to block and bind the edges to finish it perfectly. This lesson can be found within the Heart & Feather Wholecloth Workshop.

