I'll be honest, I had a bit of a love / hate relationship with this Paisley design first began quilting. I loved the curving texture and movement it added to my quilts, but I struggled to quilt it without breaking thread. Learn how I overcame this issue in this Ultimate Quilting Tutorial:
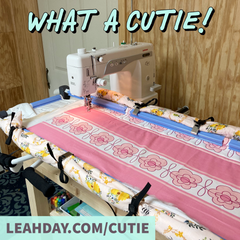
In this tutorial, I quilted Paisley first on my home machine, a Bernina 1230, then on a Grace Qnique Longarm on the Continuum Frame. Click here to learn more about the Grace Qnique.
How to Free Motion Quilt Paisley
All quilting filler designs are governed by simple rules that guide how you stitch the shapes continuously over your quilts. Think of this like signing your name in cursive. Once you memorize the way the letters are shaped and connect together, you'll never forget how to sign your name.
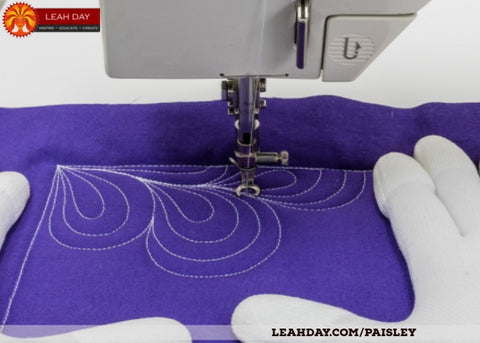
The rules for quilting Paisley a very simple: first stitch a teardrop shape. Pivot and quilt an echo around the shape. As you stitch around the curve, increase the space between the lines, then bring them closer together as you return to the starting point.
You can pivot an echo around the tear drop shape as many times as you like, then branch out and stitch another shape angling in a different direction. To expand the design simply stitch more tear drop shapes with echoes flowing across your quilt.

The tricky thing about Paisley is the travel stitching and extra thread that builds up around the starting point of each tear drop shaped. This is where I ran into trouble when I first started quilting. Every time I hit another line of stitching my thread would break.
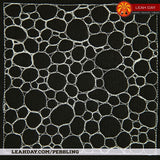
At the time, I was using cotton thread that was too thick and weak for free motion quilting. I struggled to quilt Pebbling for the same reason and while I loved both designs, I just couldn't handle my thread constantly breaking every time I stitched a single shape.
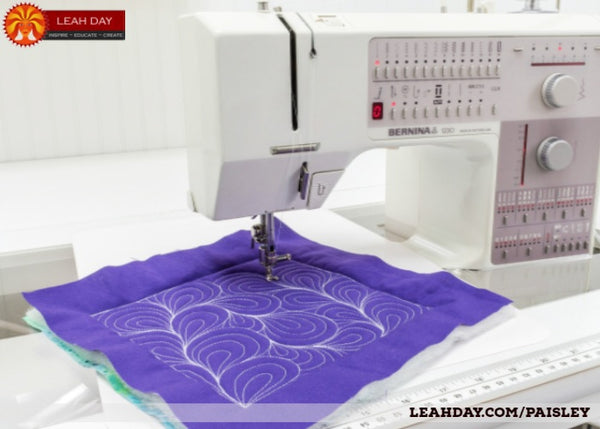
Then I discovered Isacord thread and suddenly I could stitch Paisley and Pebbling and any design I wanted. Isacord is a 40 weight polyester embroidery thread that's very thin, but very strong and you can travel stitch multiple times over the same spot.
Have you heard polyester thread is bad to use on your quilts? I don't agree with this quilting myth. Click here to learn more.
Quilting Paisley on a Real Quilt
I quilted Paisley on a small baby quilt I basted with water-soluble thread. It's so much easier to quilt when you don't have lots of pins getting in your way. Click Here to learn about this method of basting.
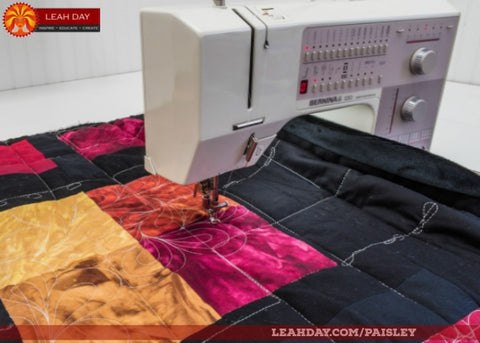
Paisley is a design that builds off the edges of your quilting space so good first step is to stitch in the ditch around the block or outline quilt the shape that you want to fill.
I began quilting Paisley in one corner of a square. I prefer to quilt from left to right and stitch the design in a row so I can see where I'm going and fill the space evenly.
But even if you stitch yourself into a corner, with Paisley that's no problem. You can always travel stitch your way out of the area along the outer lines of the Paisley shapes to move on with the design.
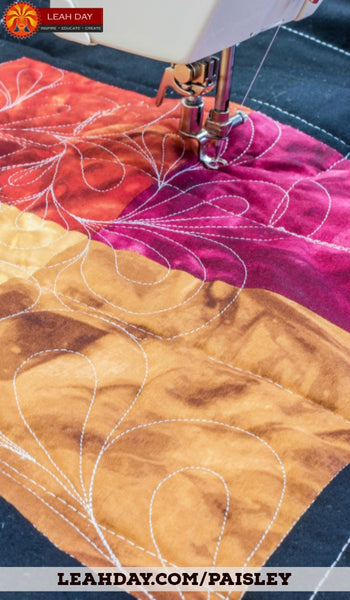
I had Minky fabric on the back of my quilt which made it a little harder to move on my home machine. I always wear quilting gloves so I can grip the quilt and move it smoothly without having to clinch the fabric in my fists.
I also place a Queen Sized Supreme Slider on my machine to reduce the friction between the quilt and the table. Minky fabric has a fluffy pile that will feel very different on the back of your quilt so make sure to practice on a small block first before tackling a big quilt.
Quilting on a Longarm Frame
Quilting on the Grace Qnique was a different challenge because now I was moving the machine instead of the quilt. It was much easier to swing the machine around and make big curving shapes and sweeping movements.
I know I can quilt Paisley a lot faster and a lot bigger on the longarm than I can on my home machine.
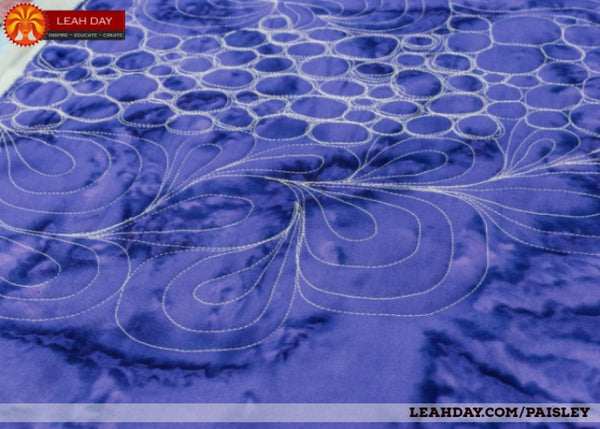
But I can't quilt it nearly as neatly. At least for now!
Controlling the machine to travel stitch and hit points exactly is a challenge. I had to accept that Paisley is just going to be a bit messy for a while until I gain the skill to control the longarm's movement.
The key to building a skill is to quilt an entire quilt with the design and ignore the mistakes. Stopping to rip out ugly stitches will not help. The only way to master this is to quilt the design as many times as you can. Repetition is key!
But there is a shortcut, a little cheat you can do to speed up Paisley and maybe quilt the design more neatly: Simply omit the travel stitching.
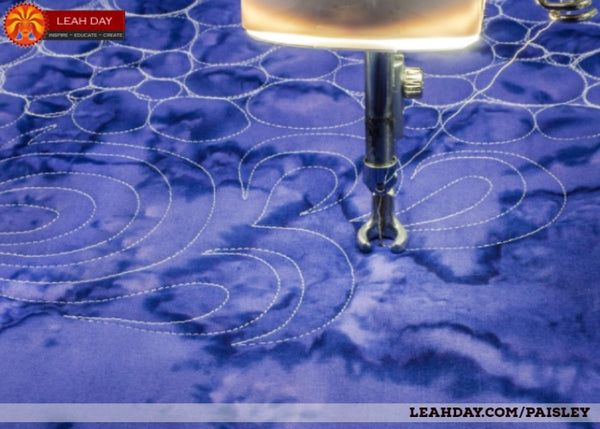
Paisley Shortcut has a very different texture from Paisley and will not stand out as nicely on your quilt, but it will be faster to stitch and still cover the surface with a beautiful curving texture. I hope you'll try both versions of this design and see how it works!
No matter which way you quilt it, or on what type of machine, Paisley is a wonderful design to build new skills for free motion quilting. Click the links below to find more Ultimate Quilting Tutorials with my favorite four designs:
Did you enjoy learning how to quilt Paisley with me? If you enjoyed this lesson, you should join me for a quilting workshop!
Click Here to check out our video workshops.
All of our quilting workshops include step-by-step videos, full-sized diagrams and templates, and clear instructions organized in a downloadable PDF file. You can download the videos to your computer and watch anytime.
If you're looking to build your quilting skills quickly, I recommend the Heart and Feather Wholecloth Workshop. You'll get a lot of bang for your buck with this class and learn many techniques like micro free motion quilting, trapunto, quilting around motifs, blocking a quilt, and hand binding.
Click here to read more about the Heart & Feather Wholecloth workshop.
Let's go quilt,
Leah Day

