Sometimes we need a really formal quilting design with evenly spaced lines or curves. And sometimes we just need to go crazy! Learn how to quilt crazy matrix with walking foot quilting, then how to stitch this design on a longarm as well:
Tips for Quilting Crazy Curves with Walking Foot Quilting
This design begins with a simple curving line. Then stitch another curve and try to do two things at once: don’t echo the first line and make this curve as wildly different as you can. That’s the basis for Crazy Curves, the first step to Crazy Matrix.
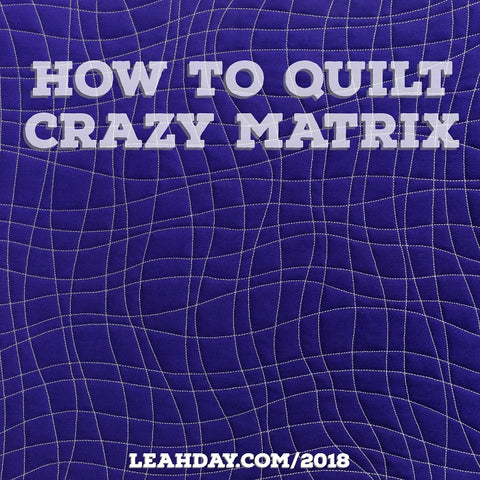
The second step of the design is to stitch back over the first set of lines with more curves. Anytime you’re quilting a grid-based design you should be on the lookout for whiskers, or the little angular ripples that can lead to pleats and even puckers on your quilt.
If you see a little pile of extra batting and material building up in front of your walking foot (this is called a snow pile) take a firmer grip on the quilt and try to ease out that pile of fluff as you quilt over it. If too much fabric is shifting, when you hit another line of quilting this will be like shoving snow over an already filled sidewalk – it will spill over. This will create a pleat as one line of quilting overlaps the first.
Please keep in mind that a tiny pleat on your quilt isn’t a deal breaker. It happens. Move on! Don’t stop to rip out something that isn’t going to damage your quilt, but just aim to avoid the issue in the future.
Tips for Quilting Crazy Matrix on a Longarm
Crazy Matrix is a very fast, very free form design when quilted on a Longarm. You have no limit on speed with this type of machine (except your stitch regulator) so you can move very quickly to quilt the curving lines anywhere on your quilt.

The tricky part is maintaining control. In the video I quilted Crazy Matrix into a narrow sashing space between two diamonds on the Double Stripe Diamond Quilt. In order to keep the design neat, I used the Slice Quilting Ruler to help travel stitch along the edges of that space so I didn’t accidentally stitch into the diamonds or into the other designs I’d already quilted.

I also found it was faster to limit the amount of travel stitching between the lines before branching off with a new crazy curving line. This changed the texture of the design a bit, but I think it ultimately turned out great!

When quilting a design like this into a tiny space on your quilt that is called custom quilting. It automatically takes more time when quilting this way because you have to quilt more slowly and carefully than you would if you were just quilting Crazy Matrix over the entire quilt. Keep that in mind of this seems really time consuming or fiddly to you. There are a lot more ways to quilt any design!
Would you like to see more quilting tutorials with both walking foot quilting and longarm quilting? Click the links below to find more videos comparing these different styles of machine quilting!
What am I going to do with the square I quilted with my walking foot? That's a block for the Marvelous Mosaic Quilt! Click Here to find a tutorial on connecting your blocks together!
We're quilting all 30 designs from the book Explore Walking Foot Quilting with Leah Day and we're going to connect together the best 20 to create the Marvelous Mosaic Quilt.
Click Here to find all the walking foot quilting videos I've shared so far. We're making three quilts together from this book and you can join in the fun and follow along anytime!
Let's go quilt,
Leah Day
Find more walking foot quilting tutorials by clicking the links below:
How to Quilt Concentric Squares
How to Quilt Pinstripe Gridlines
How to Quilt Concentric Circles


