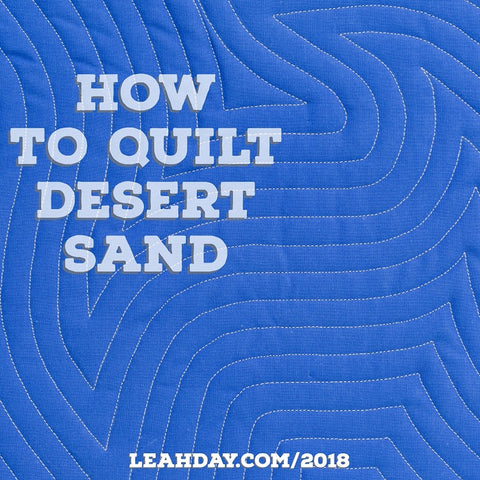
Welcome back to the Machine Quilting Party and our fun exploration of walking foot quilting this year. Today I'd like to teach you how to quilt another Foundational Design that looks like the texture of sand in the desert. Which is why I named it Desert Sand. LOL!
Learn how to quilt Desert Sand in this new walking foot quilting tutorial:
Click Here to find the book Explore Walking Foot Quilting with Leah Day. Inside you'll find 30 fun walking foot quilting designs with tips on how to use them in real quilts. This book also includes the quilt pattern for Marvelous Mosaic, the quilt we're making together with these squares!
Tips for Quilting Desert Sand with Walking Foot Quilting
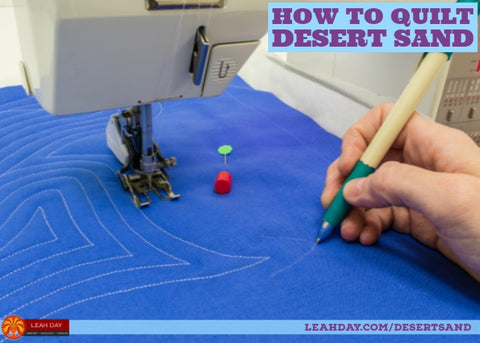
All Foundational Designs begin with a single line and for Desert Sand it's a curving line that forms sharp points like huge flame shapes on your quilt. I usually mark this line on the fabric so I can plan it out and know exactly how it flows over the surface.
This is especially helpful when quilting a Foundational Design in the borders of a quilt so it fills the space consistently and the lines meet at the end so you can quilt through the entire border with one continuous line.
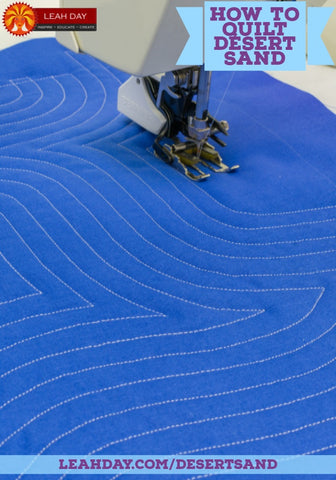
After you stitch the foundation, quilting the rest of Desert Sand is very easy. Simply echo the foundation line to one side, then to the other side until the entire quilt or the entire space is filled. That's how you create this rich, amazing texture on your quilts!
Just a quick reminder about my machine settings:
For walking foot quilting I always set the stitch length to 1.5 mm and place a Queen Supreme Slider on my sewing table to the left of the feed dogs like so:

However, for this Marvelous Mosaic Quilt, I have Minky fabric on the back which likes to grip the machine and table. When using this fabric on the back, I increase the stitch length to 2.5 mm.
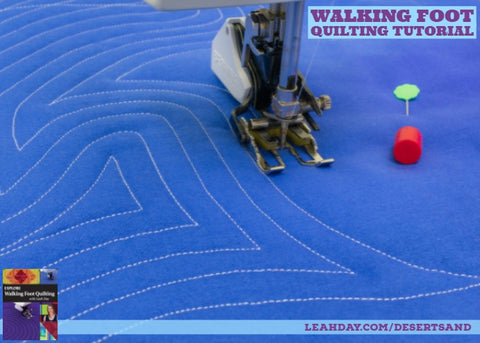
What's that weird thing on top of my machine? That's a small magnetic pincushion and a cheater needle. I keep those handy for tying off and burying loose thread tails as I quilt. Click Here to check them out.
How to Set the Foundation
I marked the starting foundation line for Desert Sand to make it easier to plan and so I wouldn't have to guess where I was going with the big walking foot on top of the machine. I don't find it as easy to stitch spontaneously with a walking foot as I do with free motion quilting. It just takes up more room on the quilt and that can sometimes get in my way when I'm planning a free form design.
If you want to speed up the quilting process, mark your foundation line very shallow with a gentle curve. The downside of a softer curve is the resulting texture won't be as dramatic or as interesting, but it will be easier to follow with your walking foot.
 The line I drew had a pretty deep curve so I had to stop and shift the quilt often in order to follow it smoothly. With walking foot quilting you want to avoid twisting the quilt into very deep curves. This can put a lot of torque and twist on the fabric and cause Whiskering, those little ripples that show up around curving lines especially.
If this shows up on your quilt, please don't panic or pull out your seam ripper. It's not that big of a deal. It's just a sign you need to slow down and lift your walking foot more often to release the pressure as you quilt curving lines.
It is a precursor to pleats so if your quilt is big and whiskers start in the very middle, at the beginning of the quilting process, you're probably going to see more issues as the quilting progresses outward. It's a ripple effect, but again, not a deal breaker and not worth ripping out unless it really upsets you.
Marking Lines to Turn the Corners
For Desert Sand, we occasionally quilt sharp, curvy points, like flame shapes. When you quilt around these points with your echoes, it might be hard to decide how to space your lines or where to stitch next. Instead of guessing, pick up a marking pencil and mark it!
Stop about 3 inches from a point and plan where you will quilt next. If you need to, use a ruler to space out your lines of quilting so the point remains consistent with the rest of the design.
Having the points marked is not cheating - it's actually saving you time and energy because that little bit of planning and marking ensures you'll quilt over the point easily without making a mistake.
Where will Desert Sand work best in your quilts?
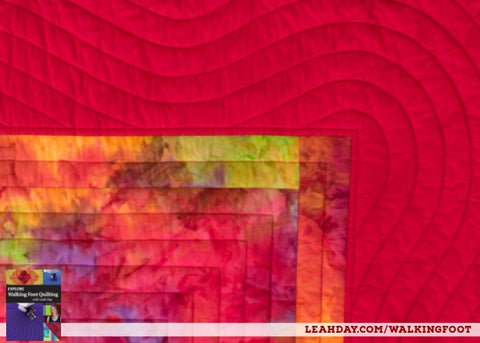
I think Desert Sand will really shine in narrow spaces like sashing and especially in the borders of your quilts. I quilted the Infinity Knot Quilt with River Path, a similar Foundational Design and it turned out gorgeous!
This isn't the best choice for small spaces, like small blocks, especially with walking foot quilting. If you wanted to quilt this design on a smaller scale and really punch up the texture on your quilt with Desert Sand, I'd switch to free motion quilting. It will be easier to see the design and quilt the echoing lines tighter together with this style of quilting instead.
And I just happen to have a video on this too! See how I quilted Desert Sand with free motion quilting in this tutorial:
I hope you'll give Desert Sand a try and experiment with using it in your next quilt. I promise it will make a really fun, unique border design that will finish your quilts in style.
Would you like to make a fun quilt while learning how to quilt many designs?
That's what we're doing with Marvelous Mosaic!
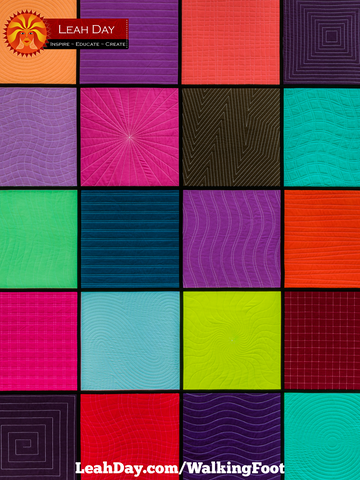
We're quilting all 30 designs from the book Explore Walking Foot Quilting with Leah Day and we're going to connect together the best 20 to create the Marvelous Mosaic Quilt. Find the quilt pattern and detailed instructions in the book, available in the following formats:
Click Here to find all the walking foot quilting videos I've shared so far. We're making three quilts together from this book and you can join in the fun and follow along anytime!
Let's go quilt,
Leah Day
Find more walking foot quilting tutorials by clicking the links below:
How to Quilt Concentric Squares
How to Quilt Pinstripe Gridlines
How to Quilt Concentric Circles


