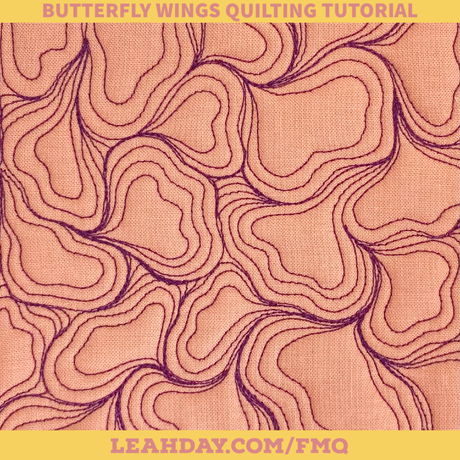
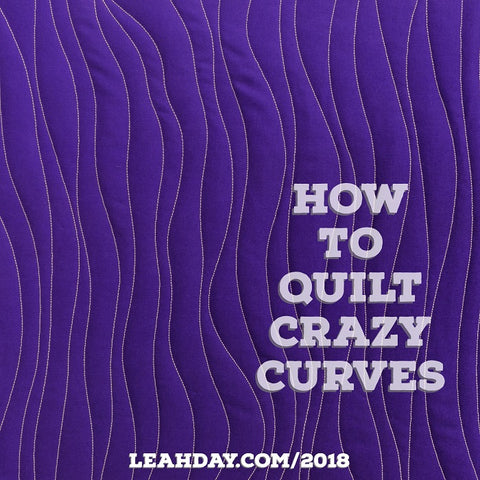
We've learned how to machine quilt Crazy Lines and Crazy Ziggie, so today let's learn how to quilt Crazy Curves! This beginner level quilting design is perfect for adding flowing texture in the background of your quilts and can finish off your borders perfectly too. Learn how to quilt it in this new walking foot / ruler foot quilting tutorial:
Quick Links to quilting tools and supplies in this tutorial:
Tips for Quilting Crazy Curves with Walking Foot Quilting
I think Crazy Curves is probably the easiest curvy-line walking foot quilting design. Just stitch across your quilt with a wiggly line, then travel stitch a distance away and quilt across again.
The tricky thing with all the crazy style designs is figuring out your quilting scale. This is the distance between your lines of quilting and is determined by the rating of your batting. Click Here to learn more about batting rating.
You don't need to worry about echoing your lines or spacing them out exactly when quilting Crazy Curves. Just aim for the lines to generally be spaced 1/2 - 1 inch apart for a consistent feel to your quilt.
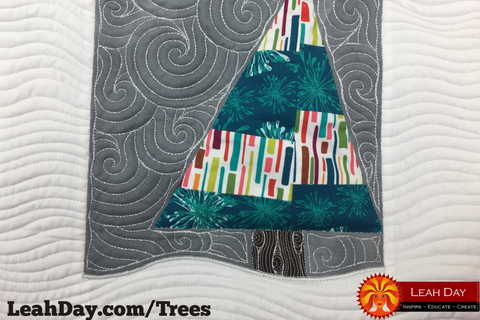
In my Wonky Christmas Tree wall hanging, I used Crazy Curves to fill in the white background. By quilting the lines roughly 1/4 inch apart, the fabrics were nicely stabilized and the wall hanging hung nicely on the wall.
Quilting Crazy Ziggie with Ruler Foot Quilting
Another wonderful type of machine quilting is Ruler Foot Quilting. This is a style of free motion quilting with a special ruler darning foot that's designed with a high base so you can press rulers or templates against the side of the foot to help control the quilting design.

In the quilting video I used the Mini Slide and Super Slide quilting rulers to quilt Crazy Curves on another quilt square. I know it may be confusing to see me continuing to quilt forward - only stitching towards myself just like walking foot quilting.
Yes, with ruler foot quilting and free motion quilting you can quilt in all directions and you're not limited to just quilt towards yourself. BUT - it's important to quilt in the direction that feels most comfortable for you and on this machine and with this ruler quilting this way felt the best!
I hope you'll give Crazy Curves a try with both methods of machine quilting. It's a lot of fun to play with these different styles of quilting to see which one you like best.
What should you do with your practice quilt sandwich after you're done? Well, you could throw it in a drawer and forget about it... or you could cut it up and turn it into a quilted zippered pouch!
Click Here to find this Quilted Zippered Pouch Tutorial.
Another option is to make a lot more quilt squares and connect them together to make the Marvelous Mosaic Quilt. Click Here to find a tutorial on connecting your blocks together!

We're quilting all 30 designs from the book Explore Walking Foot Quilting with Leah Day and we're going to connect together the best 20 to create the Marvelous Mosaic Quilt. Find the quilt pattern and detailed instructions in the book, available in the following formats:
Click Here to find all the walking foot quilting videos I've shared so far. We're making three quilts together from this book and you can join in the fun and follow along anytime!
Let's go quilt,
Leah Day
Find more walking foot quilting tutorials by clicking the links below:
How to Quilt Concentric Squares
How to Quilt Pinstripe Gridlines
How to Quilt Concentric Circles


